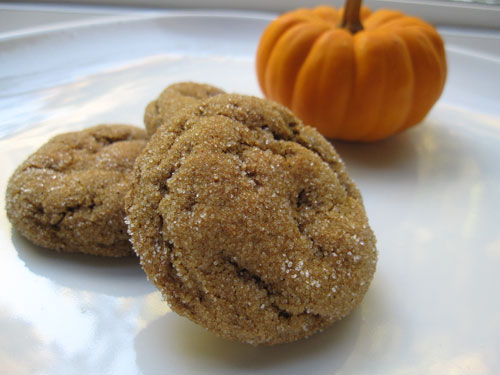
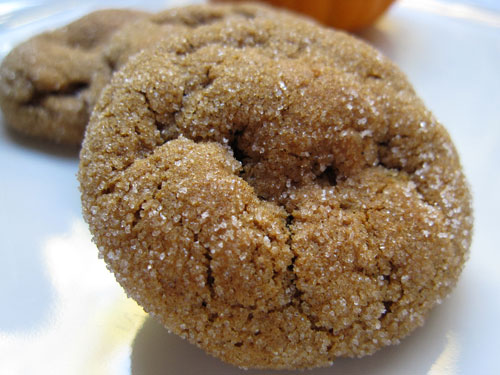
Vegan Pumpkin Scones
I love autumn, I love winter. But I do miss having at least some natural light to take photos! I wanted to post about this pumpkin scone recipe while you guys are still (hopefully) enjoying pumpkin! I used to love the pumpkin scones from Starbucks and pumpkin scones are something I've always wanted to make but just never did. Until I saw these vegan pumpkin scones on cupcakes and kale and felt immediately inspired to make them about 10 minutes after reading her post! And they are amazing.
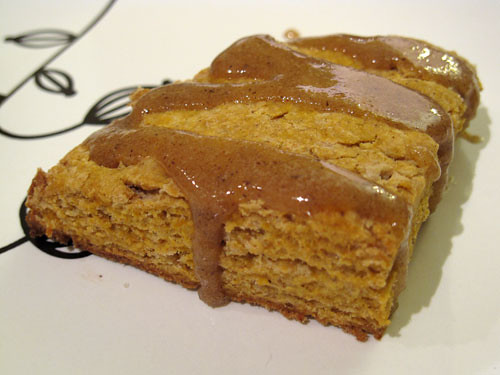
I don't usually put glazes on scones or cakes but in this case I followed her suggestion. The glaze is the perfect complement to the scone, which is biscuity but not super fluffy and flaky (this is a good thing). I did find the dough to be extremely dry and it was sort of difficult to form the dough into rounds. She does say that the dough will be dry, but next time I might add 1/2 tbsp more milk. My glaze was more liquidy than hers, maybe because I used a natural sugar?
And can I just confirm something with you guys - whole wheat pastry flour is the same thing as white whole wheat flour right? That's my understanding of the flour situation.
If this sounds good, you might also like:
Pumpkin Ginger Molasses Cookies
Pumpkin Muffins
Pumpkin Cheesecake
All-In-One Holiday Bundt Cake
Vegan Pumpkin Scones
Adapted from cupcakes and kale
Makes 1 dozen small scones
2 cups white whole wheat flour
1 tbsp baking powder
1/2 tsp cinnamon
1/4 tsp nutmeg
1/4 tsp ginger
1/8 tsp cloves
1/2 tsp salt
1/4 cup + 2 tbsp cup cold earth balance margarine
1/2 cup pumpkin puree
2 tbsp non-dairy milk (I used unsweetened almond milk) - next time I would try using 2 1/2-3 tbsp milk
5 tbsp brown sugar
Preheat the oven to 400F. In a large bowl sift together all of the dry ingredients. Using a pastry cutter cut the cold earth balance into the mixture until it resembles coarse crumbs. In another bowl, mix the pumpkin, milk & sugar. Add this to the flour bowl and mix to combine. You'll end up with a fairly dry dough. Turn this out onto a lightly floured surface and divide it into 3 equal balls. Flatten each one into a round disk that's about 6 inches across and 1/2 inch thick. Using a sharp knife, cut each disk into quarters and place them on a parchment or silpat-lined baking sheet. Bake for 15-16 minutes. Remove from the oven, allow the scones to cool and then drizzle them with spiced glaze.
Spiced Glaze
5 tbsp sugar
1/2 tbsp flour
1/4 tsp molasses
1/4 tsp cinnamon
1/8 tsp ginger
pinch cloves
1 1/2 tbsp non-dairy milk
Mix everything together in a small bowl and drizzle onto the scones either with a spoon, or from a plastic bag with the tip cut off.